
These no bake chocolate oat cookies are like a warm hug from childhood, but with a grown-up twist. I love how quick they come together, especially when I need a sweet fix without firing up the oven. It’s that perfect balance of gooey chocolate and crunchy oats that makes you pause, then reach for seconds.
They’re my go-to when I want something honest and unpolished—no fuss, no mess, just real ingredients and a little bit of magic. I’ve made these for lazy weekends, busy weekdays, even last-minute get-togethers. Each batch feels like a small victory, a sweet reminder that simple things often taste the best.
Focusing on how these cookies serve as a nostalgic, no-fuss treat that brings comfort without the need for baking, perfect for busy days or when the oven’s off.
A Nostalgic Treat in Minutes
- Making these cookies always takes me back to lazy Sunday afternoons with my grandma, who’d have the kitchen filled with the smell of melted chocolate and oats.
- There’s a chaotic joy in watching the mixture come together—messy, sticky, and totally satisfying—then shaping them into perfect little bites.
- I love how these cookies feel like a secret indulgence, quick and effortless, yet somehow still special enough to share with friends.
- Every time I whip up a batch, I get a rush of pride knowing I can satisfy a craving without turning on the oven or fussing over fancy ingredients.
The story behind this recipe
- This recipe is born from a late-night craving that couldn’t wait for the oven. I remember rummaging through the pantry, finding oats, cocoa, and a bit of leftover peanut butter—enough to throw together these cookies in a hurry. The best part? The smell of melting chocolate and toasted oats filling the kitchen, even in the quiet of the night.
- Over the years, these no bake cookies became a quick fix for those chaotic mornings when I need a sweet treat before facing the day. They remind me that sometimes, simplicity in the kitchen is the real magic—no fuss, just honest ingredients and a little bit of patience for the mixture to set.
- heading: ‘The story behind this recipe’
Contextual origin, trivia, or history
- These cookies originated during wartime rationing when ovens were scarce but sweet cravings persisted, leading to inventive no-bake treats.
- They gained popularity in the 1950s as a quick, no-fuss dessert that could be made with pantry staples, making them a staple in many households.
- The combination of chocolate and oats reflects a practical approach—using hearty oats for texture and chocolate for indulgence—developed by home cooks seeking simplicity.
- In some regions, these cookies are called ‘Mud Balls’ or ‘Chocolate Oat Clusters,’ highlighting their rough, unpolished charm and nostalgic roots.
Ingredient breakdown: key components
- Old-fashioned rolled oats: I love the chewy texture they bring, but if you’re out, puffed rice works—less chew, more crunch.
- Unsweetened cocoa powder: It’s the backbone of that deep chocolate flavor; Dutch-processed gives a smoother taste, but natural cocoa is fine if that’s what you have.
- Butter: I use unsalted for control over salt, but salted can work—just cut back slightly on added salt if you go that route.
- Sugar: White granulated keeps it simple, but coconut sugar adds a caramel note that’s pretty killer if you want depth.
- Vanilla extract: It brightens everything up—use good quality, or a splash of almond extract if you’re feeling different, just remember it’s potent.
- Optional add-ins: I toss in a handful of chopped nuts or shredded coconut—adds texture and a little surprise in every bite.
- Chocolate chips: I prefer semi-sweet, but dark or milk chocolate chips can totally switch up the flavor, depending on your mood.
Spotlight on key ingredients
Oats and Cocoa Powder:
- Old-fashioned rolled oats: I love their chewy bite and hearty texture, but quick oats can work if you’re short on time—less chew, softer bite.
- Unsweetened cocoa powder: It’s the essence of deep chocolate flavor; Dutch-processed gives a smoother, richer taste, but natural cocoa is fine if that’s what you have.
Notes for ingredient swaps
- Dairy-Free: Coconut oil or vegan butter replaces butter, adding a subtle coconut flavor or neutral base, slightly changing the richness.
- Sweetener Options: Honey or maple syrup can swap for sugar—these add moisture and a different depth of sweetness, but may alter the texture slightly.
- Oats: Steel-cut oats or quick oats can be used, but they change the chewiness; quick oats make a softer cookie, steel-cut ones are chewier.
- Chocolate: Unsweetened baking chocolate or cacao nibs can replace cocoa powder for a more intense, less sweet chocolate flavor.
- Add-ins: Chopped nuts, shredded coconut, or dried fruit can be added or omitted—play with textures and flavors, keep in mind moisture content.
- Sweetened Condensed Milk: Use if you want extra creaminess and sweetness, but reduce other liquids to balance the mixture.
- Flavor Enhancers: A pinch of espresso powder or chili flakes can deepen chocolate flavor or add a spicy kick—use sparingly to keep balance.
Equipment & Tools
- Small saucepan: To melt butter, sugar, and cocoa evenly.
- Mixing spoon: To stir ingredients and prevent sticking or burning.
- Parchment paper: To prevent cookies from sticking and for easy cleanup.
- Baking sheet: To hold the cookies while they set.
- Spatula: To lift and shape cookies gently.
Step-by-step guide to no bake cookies
- Gather all your equipment and ingredients before starting — a small saucepan, a mixing spoon, a baking sheet, and parchment paper. It’s chaos-free when everything’s at hand.
- In the saucepan, combine 1/2 cup (115g) unsalted butter, 2 cups (400g) sugar, and 1/2 cup (50g) unsweetened cocoa powder. Heat over medium (around 160°C/320°F).
- Stir constantly until the butter melts and the mixture starts to bubble gently — about 2-3 minutes. The smell of chocolate and toasted oats should be filling your kitchen.
- Add 3 cups (240g) rolled oats and 1 teaspoon vanilla extract to the pan. Mix thoroughly until the oats are fully coated and the mixture is thick and shiny. If it’s too stiff, a splash of milk helps loosen it.
- Drop spoonfuls of the mixture onto a parchment-lined baking sheet. Use the back of your spoon to shape them into rough cookies, about 1-2 inches diameter.
- Let the cookies rest at room temperature for about 30 minutes until firm. For faster setting, refrigerate for 15-20 minutes. The edges should harden, and the centers will be chewy.
- Once set, gently lift the cookies with a spatula. Check the texture — they should hold together without being too sticky. If they’re cracking, give them a minute more to firm up.
- Finish by plating and storing in an airtight container. These keep well at room temp for a few days or in the fridge for a week. They taste especially good after a brief chill.
Allow cookies to cool and set at room temperature or in the fridge. Once firm, gently lift them onto a plate. Store in an airtight container at room temp for 2-3 days or refrigerated for up to a week.
How to Know It’s Done
- Mixture bubbles gently and smells rich, chocolatey.
- Oats are fully coated, shiny, and hold shape when dropped.
- Cookies are firm and hold shape after resting, with edges crisp.
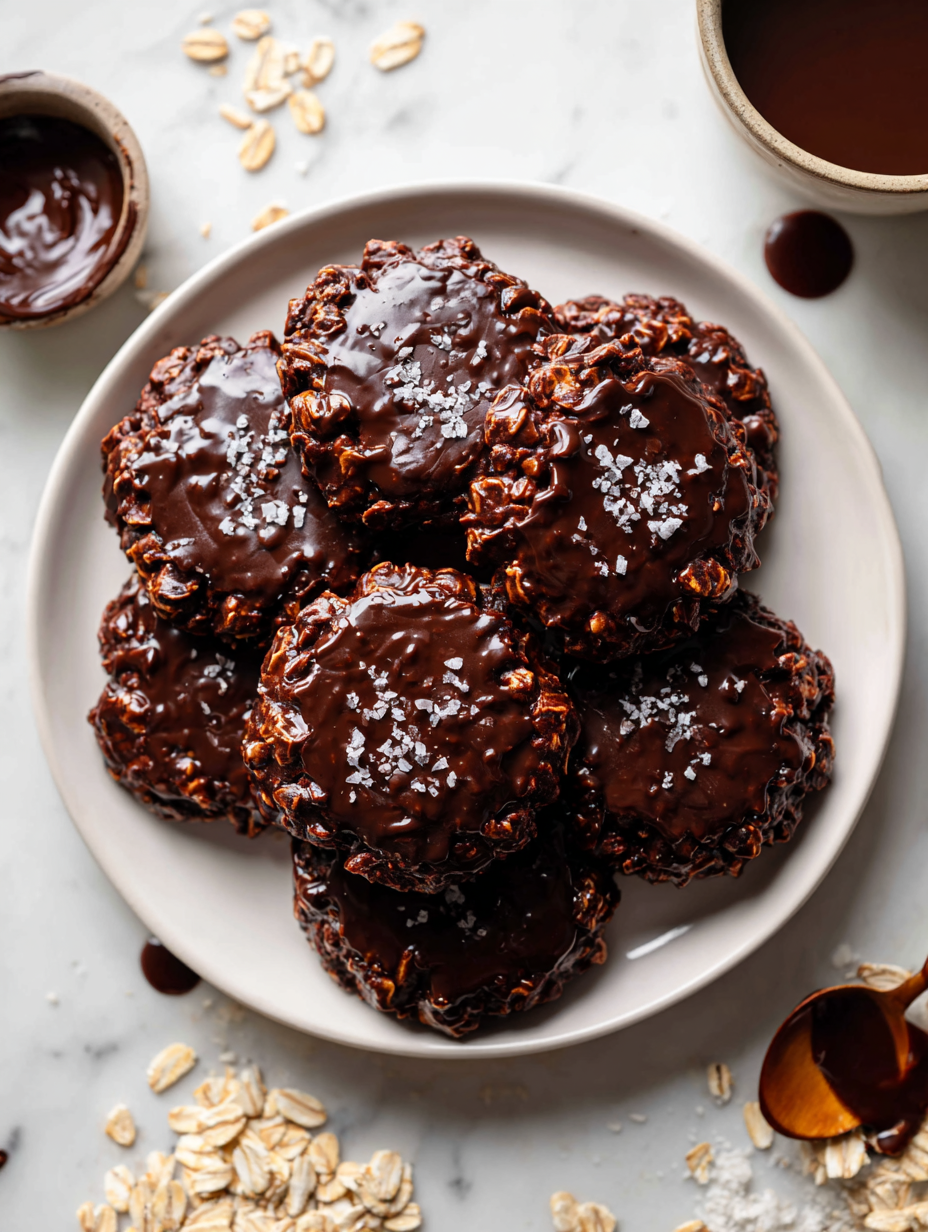
No Bake Chocolate Oat Cookies
Ingredients
Equipment
Method
- Gather all your ingredients and line a baking sheet with parchment paper to prepare for shaping the cookies.
- In a small saucepan, combine the butter, sugar, and cocoa powder. Turn the heat to medium and stir constantly as the mixture begins to melt and bubble gently, filling your kitchen with a rich chocolate aroma.
- Once the mixture is bubbling and smooth, remove it from the heat and immediately stir in the vanilla extract, ensuring it’s evenly incorporated.
- Next, add the rolled oats and chopped nuts or shredded coconut if using, and stir until the oats are fully coated and the mixture is thick and shiny. If it feels too stiff, stir in a splash of milk to loosen it slightly.
- Using a spoon, drop spoonfuls of the mixture onto your prepared parchment-lined sheet. Use the back of your spoon to gently shape each into a rough cookie about 1-2 inches across. The mixture will be sticky but manageable.
- Press a few chocolate chips or additional toppings into the tops of the cookies for added texture and visual appeal.
- Let the cookies sit at room temperature for about 30 minutes until they firm up. For quicker setting, place the baking sheet in the fridge for 15-20 minutes.
- Once the cookies are firm and hold their shape, gently lift them with a spatula and transfer to a plate or storage container.
- Enjoy these chewy, fudgy treats immediately or store in an airtight container at room temperature for up to 3 days, or refrigerated for up to a week. They taste especially good after a brief chill.
Tips & Tricks for Perfect Cookies
- Use the right heat: Medium heat (160°C/320°F) helps melt ingredients evenly without burning the chocolate.
- Stir constantly: Keep the mixture moving to prevent sticking and to develop a glossy, smooth texture.
- Check the consistency: When dropping spoonfuls, the mixture should be thick and shiny—if too runny, add a bit more oats.
- Temperature matters: Let the mixture cool slightly before shaping—hot mixture can be too sticky and difficult to handle.
- Chill for firmness: Refrigerate for at least 15 minutes to set the cookies faster and achieve that perfect chewy texture.
- Avoid over-melting: If chocolate or butter overheats, it can seize or become grainy—remove from heat immediately and stir in a little milk if needed.
- Use parchment paper: Prevents sticking and makes cleanup easier—don’t skip this step for a smooth finish.
Common mistakes and how to fix them
- FORGOT to measure ingredients precisely? Use a scale for accuracy, avoid guesswork.
- DUMPED mixture too hot? Let it cool slightly before spooning to prevent melting parchment.
- OVER-TORCHED the chocolate? Reduce heat, stir constantly, and remove from stove immediately.
- MISSED the setting time? Give cookies extra minutes in fridge if they still feel soft.
Quick Fixes for Common Cookie Issues
- When mixture is too thick, splash in a little hot water and stir until smooth.
- If cookies are too soft, chill in fridge for 10 minutes for better shape.
- Splash some milk if the mixture feels too stiff or crumbly before dropping.
- Patch over cracks by pressing the mixture together with damp fingers.
- Shield burnt chocolate by removing from heat immediately and stirring in a few drops of hot water.
Prep, store, and reheat tips
- You can prepare the cookie mixture a day in advance; keep it covered in the fridge to prevent drying out. The flavors meld better overnight, and it’s a time saver.
- Store the finished cookies in an airtight container at room temperature for up to 3 days. They maintain their chewy, fudgy texture, with the chocolate aroma lingering pleasantly.
- For longer storage, refrigerate up to a week. Just note they become a bit firmer and the chocolate flavor intensifies slightly after a day or so.
- Reheat by letting cookies sit at room temperature for 10 minutes or briefly microwaving for 10-15 seconds. The smell of melting chocolate should reappear, and they’ll regain some softness, perfect for a quick snack.
Top questions about no bake cookies
1. Can I use natural cocoa instead of Dutch-processed?
Yes, using natural cocoa powder gives a richer, more intense chocolate flavor, but Dutch-processed makes it smoother and less bitter.
2. Can I replace sugar with honey or syrup?
Absolutely. You can substitute honey or maple syrup for sugar, but the mixture might be a little stickier and the flavor slightly different.
3. What oats work best for these cookies?
Using quick oats will give a softer, less chewy cookie, while steel-cut oats make a chewier, heartier bite—choose based on your texture preference.
4. Can I make these dairy-free?
Yes, coconut oil or vegan butter can replace butter, but they might add a subtle coconut flavor or slightly alter the richness.
5. How do I get the cookies to set properly?
Chilling the cookies in the fridge for 15-20 minutes helps them set faster and makes them easier to handle without cracking.
6. What if my mixture is too soft or sticky?
If the mixture feels too runny, add a few more oats until it thickens. For a firmer cookie, refrigerate longer.
7. How should I store these cookies?
Refrigerate the finished cookies in an airtight container for up to a week. They taste best after a short chill, which enhances the chocolate flavor.
8. How do I fix overly firm cookies?
If the cookies are too hard after refrigerating, let them sit at room temperature for 10 minutes before eating to soften slightly.
9. My mixture is too stiff—what do I do?
When mixture is too thick, splash in a little hot water or milk and stir until smooth. It helps loosen it for easier shaping.
10. What if I burn the chocolate?
If you overheat the chocolate, remove from heat immediately and stir in a small splash of hot water to smooth out the texture.
These cookies are such a quick nostalgia trip, especially when the kitchen feels too busy for anything complicated. There’s a certain satisfaction in biting into that fudgy, chocolatey bite, knowing how simple it was to make. They remind me that sometimes, the best treats are just a handful of pantry staples and a little patience.
Now, when I need a sweet fix without the fuss, these no-bake cookies are my go-to. They’re imperfect, a little messy, but honest and comforting—just like a good memory or a lazy afternoon. Sometimes, the simplest recipes turn out to be the most meaningful.

Hi, I’m Mia Bennett, the chef and storyteller behind Grounding in Tradition. I’m so glad you’re here. This blog is my way of preserving the flavors, techniques, and rituals that shaped me as both a cook and a professional chef. Grounding in Tradition is not about trends or shortcuts. It is about honoring where food comes from, understanding the hands that prepare it, and carrying forward recipes that deserve to be remembered.


Leave a Reply