
This no bake chocolate crunch bars recipe is a little nostalgic, a little indulgent, and honestly, a lifesaver when you need something quick and satisfying. I love how simple ingredients come together without turning on the oven, especially when the weather’s too hot or I’m just craving a sweet fix without the fuss.
The best part? You get that perfect balance of crispy rice cereal crunch and rich, gooey chocolate. It’s like a childhood treat but with a grown-up twist—more depth, less sweetness, and a texture that keeps you coming back for another square. Plus, it’s one of those recipes that feels like a warm hug, even if it’s just in the middle of a busy week.
This recipe is inspired by childhood snack memories, but adapted for grown-up tastes with richer chocolate and a satisfying crunch. It’s about revisiting simple joy while adding a touch of sophistication, perfect for when you crave comfort without the fuss.
The story behind this recipe
- I remember sneaking bites of my mom’s homemade chocolate bars as a kid, the crunch always catching me off guard. That unexpected snap, mixed with the rich sweetness, made those afternoons feel special, even if it was just a quick snack. Over the years, I kept coming back to that memory, trying to recreate that perfect balance of crunch and chocolate without all the fuss of baking or complicated ingredients.
- One day, I grabbed a handful of rice cereal and a bar of dark chocolate, thinking maybe I could bring that childhood joy into my busy adult life. Turns out, it’s just as satisfying as I remembered—maybe even more so, because I can whip it up in minutes and tweak it to fit whatever mood I’m in. It’s become my go-to when I want something sweet, crunchy, and honestly, a little nostalgic.
- heading: ‘The story behind this recipe’
Ingredient breakdown: key components
- Dark chocolate: I love how the slight bitterness balances the sweetness, and it melts smoothly. Swap with milk chocolate if you prefer a milder, creamier feel—just expect a lighter, less intense chocolate flavor.
- Crispy rice cereal: The crunch is what makes these bars addictive. You could try cornflakes for a slightly different texture, but avoid very thick flakes—they might make the bars too dense.
- Unsalted butter: Adds richness and helps the chocolate set perfectly. For a dairy-free version, coconut oil works well—just note it gives a subtler flavor and a slightly softer finish.
- Sweetened condensed milk: It’s the glue that holds everything together with a sweet, sticky gooeyness. You can try honey or maple syrup, but be aware they might alter the texture and sweetness level.
- Vanilla extract: Just a splash brightens the chocolate’s depth. Skip it if you want a more intense cocoa flavor, or add a pinch of sea salt for a savory contrast.
- Optional add-ins: Nuts, dried fruit, or sea salt flakes add texture and flavor. Use your favorites, but don’t overload—balance is key for that perfect bite.
- Salt: Just a pinch enhances all the flavors. Try smoked salt for a surprising twist or skip it altogether if you’re going for pure chocolate indulgence.
Spotlight on key ingredients
Dark chocolate:
- I love how the slight bitterness balances the sweetness, and it melts smoothly. Swap with milk chocolate if you prefer a milder, creamier feel—just expect a lighter, less intense chocolate flavor.
- Crispy rice cereal: The crunch is what makes these bars addictive. You could try cornflakes for a slightly different texture, but avoid very thick flakes—they might make the bars too dense.
Unsalted butter & condensed milk:
- Unsalted butter: Adds richness and helps the chocolate set perfectly. For a dairy-free version, coconut oil works well—just note it gives a subtler flavor and a slightly softer finish.
- Sweetened condensed milk: It’s the glue that holds everything together with a sweet, sticky gooeyness. You can try honey or maple syrup, but be aware they might alter the texture and sweetness level.
Notes for ingredient swaps
- Dairy-Free: Swap regular butter with coconut oil—expect a subtler, slightly tropical note and a softer set.
- Vegan Chocolate: Use dairy-free dark chocolate or cocoa solids with coconut sugar—still rich, but with a different depth.
- Crispy Cereal: Cornflakes or rice puffs can replace rice cereal for a lighter crunch, but avoid very thick flakes they can make bars dense.
- Sweetener: Honey or maple syrup can replace condensed milk—be aware they might alter the chewiness and sweetness level.
- Add-ins: Nuts, dried fruit, or sea salt flakes—use your favorites, but keep additions balanced to avoid overwhelming the chocolate.
- Salt: Regular table salt works fine, but smoked salt adds a surprising smoky contrast that elevates the flavor.
- Chocolate Type: Milk chocolate or white chocolate can be used, but expect a milder, creamier taste and softer texture.
Equipment & Tools
- 20x20cm (8×8 inch) square pan: Holds and shapes the mixture for easy slicing.
- Heatproof spatula: Folds the chocolate and cereal mixture smoothly.
- Microwave-safe bowl: Melts chocolate and butter evenly without mess.
- Parchment paper: Prevents sticking and makes removal easy.
Step-by-step guide to no bake bars
- Gather your equipment: a 20x20cm (8×8 inch) square pan, a heatproof spatula, a microwave-safe bowl, and parchment paper. Line the pan with parchment for easy removal.
- In a microwave-safe bowl, add 200g (7 oz) dark chocolate, 50g (1/4 cup) unsalted butter, and 2 tbsp sweetened condensed milk. Microwave in 30-second bursts, stirring after each, until smooth and glossy. About 1-2 minutes total.
- While the chocolate mixture melts, measure 3 cups of crispy rice cereal into a large mixing bowl. Keep it ready for quick mixing.
- Once the chocolate is melted, pour it over the cereal. Use the spatula to fold gently until all the cereal is evenly coated. Be careful not to crush the cereal too much.
- Transfer the mixture into the prepared pan. Use the spatula or your hands (dampened slightly) to press it down evenly, creating a compact layer. Smooth the top for a clean finish.
- Let the bars rest at room temperature for 30 minutes, then transfer to the fridge to set fully for at least 2 hours. If in a hurry, chill for 30 minutes to speed up setting.
- Once set, lift the bars out using the parchment paper. Slice into squares or rectangles with a sharp knife. For clean cuts, wipe the knife between slices.
- Finish by plating the bars on a nice dish or tray. Serve immediately, or store for later.
Allow the bars to set at room temperature, then chill in the fridge for a firm texture. Slice into squares and serve directly or store in an airtight container.
How to Know It’s Done
- Chocolate is smooth, shiny, and fully melted without lumps.
- Cereal is evenly coated with chocolate, not clumped or greasy.
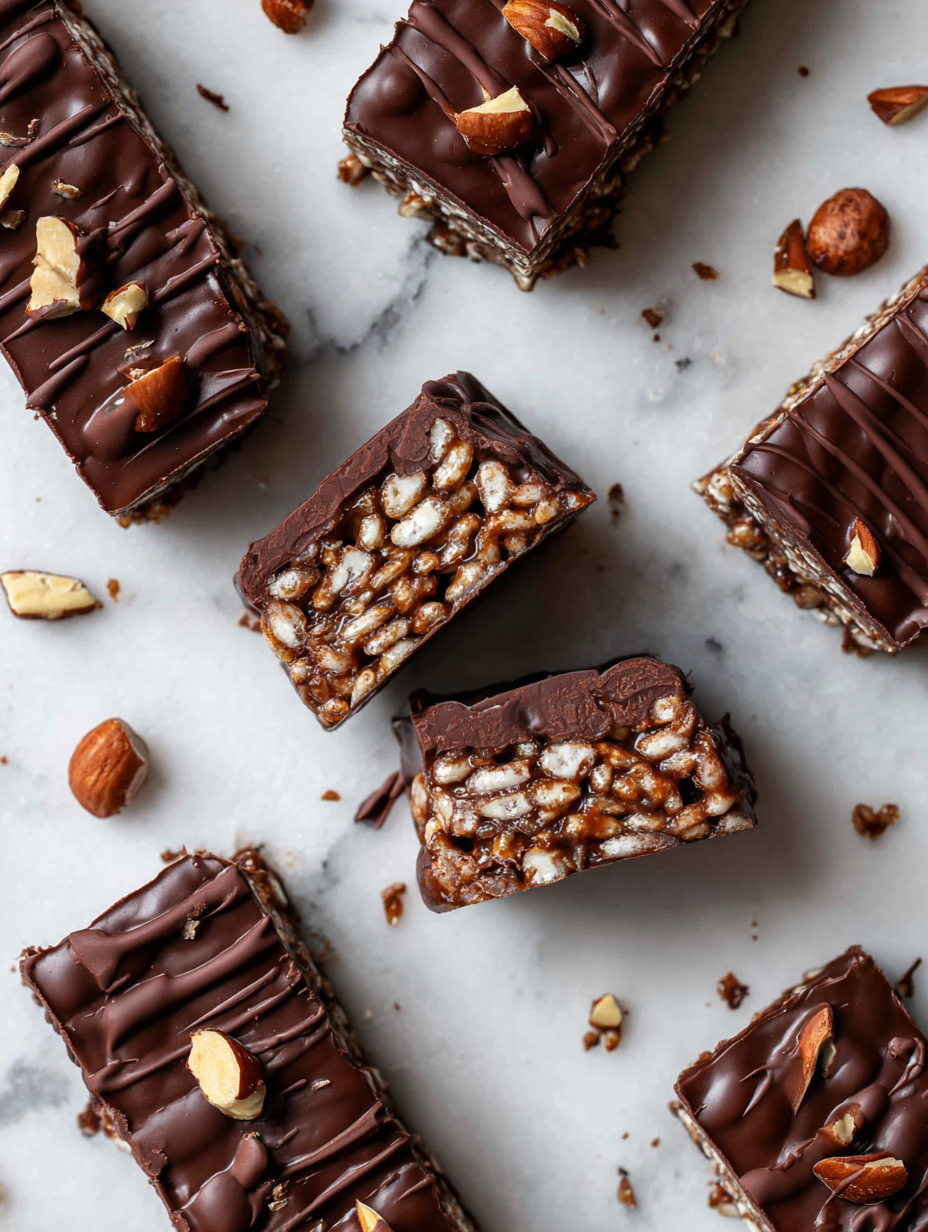
- Bars are firm and hold shape when pressed lightly, with a slight snap when cut.
No Bake Chocolate Crunch Bars
Ingredients
Equipment
Method
- Line your square pan with parchment paper, leaving some overhang for easy removal.
- In a microwave-safe bowl, combine the dark chocolate, unsalted butter, and sweetened condensed milk. Microwave in 30-second bursts, stirring well after each, until the mixture is smooth and glossy, about 1-2 minutes total.
- Pour the melted chocolate mixture over the crispy rice cereal in a large bowl. Use a spatula to gently fold and coat all the cereal evenly, being careful not to crush it.
- Transfer the coated cereal mixture into the prepared pan. Press it down firmly with the back of a spatula or your dampened fingers to create an even, compact layer. Smooth out the top for a clean finish.
- Let the bars rest at room temperature for about 30 minutes, then transfer to the fridge for at least 2 hours to fully set. If you're in a hurry, chilling for 30 minutes in the freezer will also work.
- Once the bars are firm and set, lift them out of the pan using the parchment overhang. Use a sharp knife to cut into squares or rectangles, wiping the blade clean between cuts for neat slices.
- Arrange the sliced bars on a plate and enjoy immediately, or store them in an airtight container for up to a few days at room temperature or in the fridge for longer freshness.
Notes
Pro tips for perfect bars
- Mini-Head: Use room temperature ingredients to ensure smooth melting and even coating.
- Mini-Head: Incorporate cereal gently to preserve its crunch and avoid crushing.
- Mini-Head: Microwave chocolate in short bursts to prevent scorching and maintain glossy finish.
- Mini-Head: Press the mixture firmly into the pan for even thickness and clean cuts.
- Mini-Head: Chill the bars fully in the fridge to achieve a clean, snap-worthy texture.
- Mini-Head: Wipe your knife between cuts for smooth, precise slices.
- Mini-Head: Let the bars sit at room temperature for a few minutes before slicing to reduce cracking.
Common mistakes and how to fix them
- FORGOT to evenly coat cereal → Stir thoroughly for uniform coverage.
- DUMPED in all chocolate at once → Add gradually, checking for smooth melting.
- OVER-TORCHED chocolate → Remove from heat immediately to prevent bitterness.
- MISSED the chilling step → Ensure full set before slicing for clean cuts.
Quick fixes and pantry swaps
- When the bars crackle, gently rewarm for a few seconds to soften the chocolate.
- If the mixture is too dry, splash a tiny bit of warm milk to loosen it.
- Patch a greasy patch with a bit of extra cereal pressed in for texture.
- Splash a pinch of sea salt on top for a flavor boost and shimmer.
- When in doubt, swap rice cereal for cornflakes—just keep the crunch consistent.
Prep, store, and reheat tips
- You can prepare the chocolate mixture and cereal coating a day in advance. Store in an airtight container in the fridge; the smell of melted chocolate will be preserved, and the texture stays fresh.
- Once set, these bars can be stored in an airtight container at room temperature for up to 3 days, but keep them in a cool, dry place to prevent melting or sticking.
- For longer storage, place the sliced bars in the fridge for up to a week. The cold enhances the crunch, but the chocolate may harden slightly; bring to room temp before serving for best flavor.
- Reheating isn’t usually necessary, but if you want to soften the chocolate a bit, microwave a slice for 10 seconds. Watch for a faint shimmer and a gentle wobble—don’t overdo it.
Top questions about no bake bars
1. Can I use milk chocolate instead of dark?
Yes, you can use milk chocolate, but it will be sweeter and less intense. Dark chocolate gives a richer flavor and a firmer set.
2. Can I swap dark chocolate for white chocolate?
Absolutely. Just melt the same amount of white chocolate and be aware it will be sweeter and may set softer.
3. Can I substitute sweetened condensed milk?
Yes, but keep in mind that honey or maple syrup will alter the texture and sweetness slightly, making the bars softer or chewier.
4. Can I use a different sweetener?
You can, but the bars might not hold together as well. Coconut milk or a thick syrup can work in a pinch.
5. How long can I keep these bars?
Store bars in an airtight container at room temperature for up to 3 days or in the fridge for longer freshness.
6. How do I know when they are ready to cut?
Chill the bars in the fridge for at least 2 hours until firm. For a quicker set, 30 minutes in the freezer works.
7. How should I cut the bars?
Use a sharp knife wiped clean between cuts for clean, straight slices without cracking.
8. What if the chocolate melts while slicing?
If the chocolate melts or gets greasy, chill the bars longer or briefly reheat the knife for smoother cuts.
9. Can I add other ingredients?
Yes, you can add nuts, dried fruit, or sea salt flakes for extra texture and flavor. Just don’t overload.
10. My mixture is too dry—what can I do?
If the mixture feels too dry, add a splash of warm milk or a little extra melted chocolate to loosen it up.
Making these no bake chocolate crunch bars is like capturing a moment of childhood simplicity, but with a grown-up touch. The smell of melting chocolate and the snap of the cereal bring a little nostalgic joy to my kitchen every time.
They’re perfect for spontaneous cravings or when you want something quick and satisfying without the fuss. No matter the season, a batch always disappears faster than I expect, leaving me already thinking about the next one.