
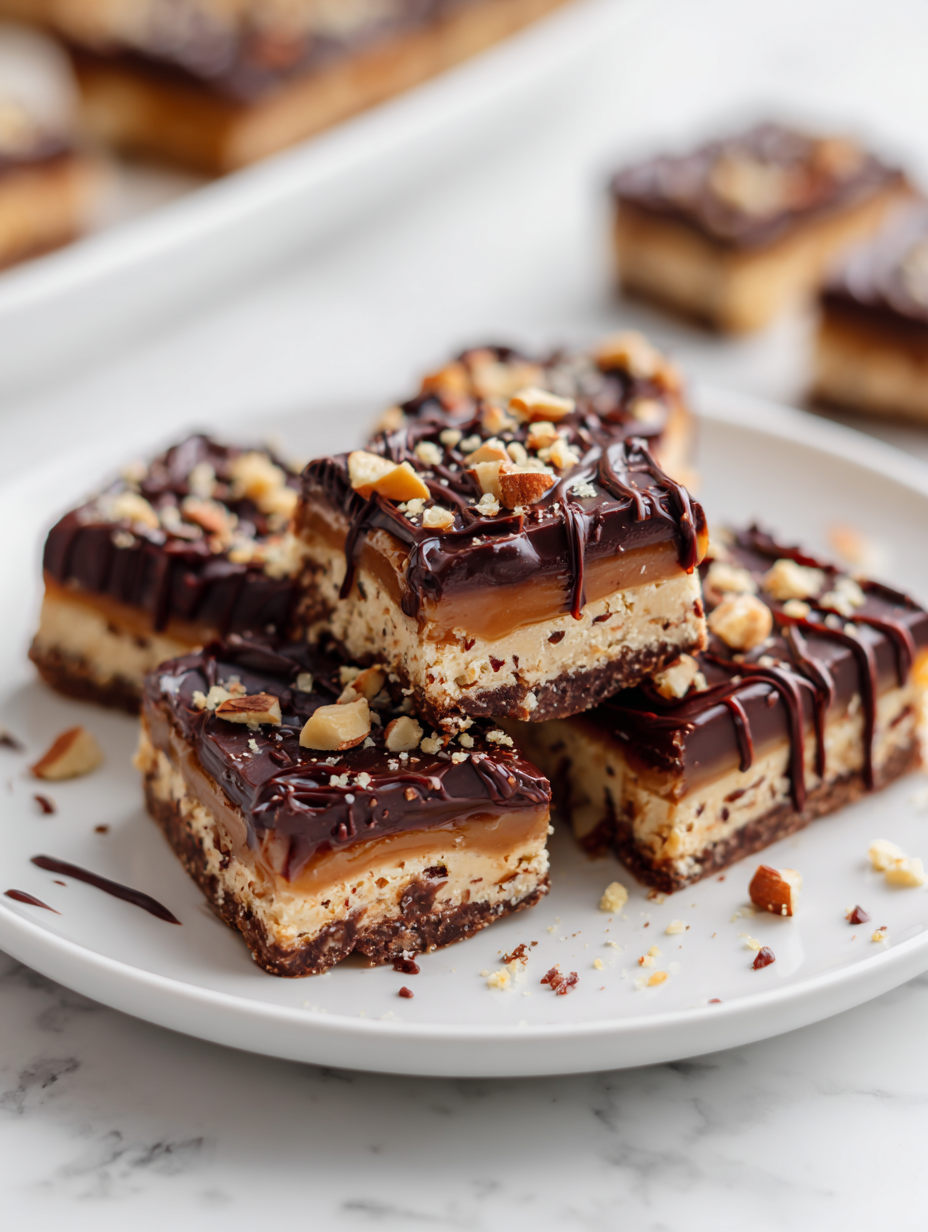
Sometimes, I just need something sweet and satisfying without the fuss of turning on the oven. These no-bake chocolate honey bars hit that spot perfectly, especially when I’m craving a treat but also want to keep things simple. The honey’s natural stickiness gives them a chewy, caramel-like richness that’s hard to beat.
They come together quickly, with a handful of pantry staples—cocoa, oats, a touch of butter—that I usually have on hand. It’s one of those recipes I turn to when I want to make something homemade in a flash, especially when I’m short on time or energy but still want to indulge in something cozy and fudgy.
This recipe is my go-to for when I need a quick, comforting treat that feels indulgent but requires no oven. I love how the honey adds a natural sweetness and a sticky, chewy texture that’s totally addictive. It’s a no-fuss dessert I make with whatever’s in the pantry, perfect for last-minute cravings or when I want something homemade without the mess.
The story behind this recipe
- This recipe came about on a rainy afternoon when I wanted something sweet but didn’t want to turn on the oven. I remembered a batch of honey and cocoa I had in the pantry, and suddenly it felt like the perfect no-fuss treat to whip up quickly. It’s become a favorite for those days when I need a little comfort without the mess.
- I love how the honey keeps everything sticky and chewy, almost like a caramel, but with that deep cocoa richness. Over the years, I’ve tweaked the amounts to get just the right balance—sweet, a little bitter, and utterly satisfying. It’s a recipe I turn to when I want something homemade that’s simple, fast, and honestly, pretty addictive.
- heading
- The story behind this recipe
Key ingredients and tips
- Dark chocolate: I love using high-quality, slightly bitter chocolate that melts smoothly and gives a rich, glossy finish. If you prefer sweeter bars, go for a milder cocoa content.
- Honey: It’s the sticky, fragrant glue that holds everything together and adds a floral sweetness. If you don’t have honey, maple syrup works but will bring a different, more caramel-like note.
- Rolled oats: They add texture and a nutty flavor, plus a bit of chewiness. For a finer crumb, pulse them in a food processor before mixing.
- Butter: I use unsalted butter for a creamy base that melts into the chocolate and oats. For a dairy-free version, coconut oil gives a similar richness with a subtle coconut aroma.
- Vanilla extract: Just a splash elevates all the flavors and adds warmth. Skip if you want a more intense cocoa punch.
- Salt: Tiny pinch enhances the sweetness and deepens the chocolate flavor. Don’t skip it—trust me, it makes a difference.
- Optional add-ins: Nuts, dried fruit, or a sprinkle of sea salt on top can make these bars even more exciting. Use what you love or have in your pantry.
Spotlight on key ingredients
Dark chocolate:
- I love using high-quality, slightly bitter chocolate that melts smoothly and gives a rich, glossy finish. If you prefer sweeter bars, go for a milder cocoa content.
- Honey: It’s the sticky, fragrant glue that holds everything together and adds a floral sweetness. If you don’t have honey, maple syrup works but will bring a different, more caramel-like note.
- Rolled oats: They add texture and a nutty flavor, plus a bit of chewiness. For a finer crumb, pulse them in a food processor before mixing.
Honey:
- It’s the sticky, fragrant glue that holds everything together and adds a floral sweetness. If you don’t have honey, maple syrup works but will bring a different, more caramel-like note.
- Rolled oats: They add texture and a nutty flavor, plus a bit of chewiness. For a finer crumb, pulse them in a food processor before mixing.
Notes for ingredient swaps
- Dairy-Free: Swap butter for coconut oil. It melts just as smoothly but adds a subtle coconut aroma.
- Sweetener Switch: Use maple syrup instead of honey for a different floral sweetness and a slightly sticky texture.
- Chocolate Options: Dark chocolate is my go-to for depth, but milk chocolate makes it sweeter and creamier.
- Oats Variations: Steel-cut oats give a crunch, while quick oats make for a softer, more uniform texture.
- Add-ins: Nuts or dried fruit can be swapped or doubled; almonds give crunch, dried cranberries add tartness.
- Flavor Boost: A pinch of espresso powder intensifies the chocolate, especially if you’re using milder cocoa.
- Texture Tweaks: For a chewier bar, add a handful of shredded coconut or mini marshmallows.
Equipment & Tools
- 20×20 cm (8×8 inch) square pan: To shape and chill the bars.
- Heatproof bowl: To melt butter and honey gently.
- Small saucepan: To warm ingredients without direct heat.
- Spatula: For mixing and pressing the mixture.
- Parchment paper: To prevent sticking and for easy removal.
- Sharp knife: To cut the set bars cleanly.
Step-by-step guide to no bake bars
- Equipment ready: line a 20×20 cm (8×8 inch) square pan with parchment paper, and gather a heatproof bowl, a spatula, and a small saucepan.
- Melt the butter and honey: in a small saucepan over low heat, warm 60 seconds until the butter is melted and the mixture is glossy, about 35°C (95°F).
- Combine dry ingredients: in a mixing bowl, stir together 1 1/2 cups rolled oats, 1/2 cup cocoa powder, and a pinch of salt.
- Mix wet and dry: pour the melted butter-honey mixture over the oats and cocoa, then stir vigorously with a spatula until evenly coated and sticky, about 2 minutes.
- Add chocolate: break 1 cup of dark chocolate into small pieces, then fold into the mixture. The heat from the mix should start melting the chocolate; if not, briefly warm the mixture over low heat, just until chocolate softens.
- Press into pan: transfer the mixture to the prepared pan. Use the spatula or your hands (dampened slightly) to press firmly and evenly into the pan, about 2 cm (0.8 inches) thick.
- Chill and set: cover with plastic wrap and refrigerate for at least 2 hours or overnight. The bars should firm up and develop a shiny, crackly top.
- Cut and serve: once set, lift the slab out of the pan using the parchment, and cut into squares or bars with a sharp knife. Serve at room temperature or slightly chilled for a fudge-like texture.
Refrigerate the bars until firm, then cut into squares. Serve directly or store in an airtight container in the fridge for up to a week.
How to Know It’s Done
- Mixture is glossy and holds together when pressed.
- Chocolate pieces are mostly melted and integrated.
- Bars feel firm and slightly crack when cut.
No-Bake Chocolate Honey Bars
Ingredients
Equipment
Method
- Line your square pan with parchment paper to prevent sticking and set it aside.
- In a small saucepan over low heat, gently warm the butter and honey, stirring until the mixture is glossy and smooth, about 1 minute. The aroma will be sweet and fragrant as the butter melts.
- While the mixture warms, place the rolled oats, cocoa powder, and salt in a large mixing bowl, and stir to combine evenly.
- Pour the warm butter-honey mixture over the dry ingredients, then stir vigorously with a spatula until everything is well coated and sticky, about 2 minutes. The mixture will start to clump together and look glossy.
- Add the chopped dark chocolate to the mixture, gently folding it in. The residual heat will begin melting the chocolate, creating a rich, glossy texture.
- Transfer the mixture into the prepared pan, then use the back of a spatula or dampened fingers to press it firmly and evenly into the pan, smoothing the surface.
- Cover the pan with plastic wrap and refrigerate for at least 2 hours, or until the bars are firm and shiny on top.
- Once set, lift the entire slab out of the pan using the parchment paper and place on a cutting board. Use a sharp knife to cut into squares or bars of your desired size.
- Serve the bars at room temperature or chilled, enjoying their chewy, fudgy texture and rich chocolate flavor.
Notes
Tips for perfect bars
- Bolded mini-head: Use room temperature honey for easier mixing and even distribution, avoiding clumps.
- Bolded mini-head: Melt chocolate gently over low heat or in short bursts in the microwave to prevent bitterness from burning.
- Bolded mini-head: Press the mixture firmly into the pan to avoid air pockets, ensuring clean cuts and firm bars.
- Bolded mini-head: Chill the bars in the fridge until they shimmer slightly and feel firm to the touch, about 2 hours.
- Bolded mini-head: When cutting, wipe the knife with warm water between slices for clean, neat edges.
- Bolded mini-head: If the chocolate isn’t melting smoothly, add a tiny splash of warm cream to loosen it up.
- Bolded mini-head: For extra shine, briefly warm a spatula with hot water and smooth over the cut edges.
Common mistakes and how to fix them
- FORGOT to chill: Bars won’t set properly; refrigerate for at least 2 hours.
- DUMPED the chocolate: Not enough melted; warm mixture slightly or add more chocolate.
- OVER-TORCHED the mixture: Burnt smell; lower heat and stir constantly.
- SKIPPED the parchment: Sticks to pan; always line with parchment for easy removal.
Quick fixes and pantry swaps
- When mixture is too crumbly, splash in a teaspoon of warm water to loosen.
- If bars stick to the pan, splash a little hot water on parchment edges before lifting.
- When chocolate isn’t melting smoothly, patch with a tiny bit of warm cream or coconut oil.
- Splash a few drops of lemon juice if honey is too thick or sticky to blend smoothly.
- When bars aren’t firm enough, rescue by refrigerating for an extra 30 minutes to set fully.
Prep, store, and reheat tips
- You can prepare the mixture up to 24 hours in advance; keep it covered in the fridge for fresh, firm bars.
- Store the finished bars in an airtight container in the fridge for up to a week, maintaining their chewy texture and chocolate shine.
- For longer storage, freeze the bars wrapped tightly in plastic wrap and foil; they hold well for up to a month, with a slight change in texture.
- Reheat chilled bars briefly at room temperature or in the microwave (10 seconds) until just softening, revealing the rich, fudgy aroma.
- Chilled bars will be more firm and dense; allow them to sit at room temp for 10–15 minutes before serving for optimal softness and aroma.
Top questions about no bake chocolate honey bars
1. Can I use maple syrup instead of honey?
Yes, you can substitute maple syrup for honey, but it will add a slightly different caramel note and change the sticky texture slightly.
2. Can I melt the chocolate differently?
Absolutely, melting dark chocolate with a bit of coconut oil can make it smoother and easier to mix, plus adds a coconut aroma.
3. My mixture is crumbly, what do I do?
If your mixture feels too crumbly, adding a teaspoon of warm water can help it come together without losing flavor.
4. How do I know when the bars are ready to cut?
Refrigerate the bars for at least 2 hours until they feel firm and have a glossy, crackly top. They should hold their shape when cut.
5. Can I make these ahead of time?
You can prepare the mixture a day ahead and keep it covered in the fridge. Let it sit at room temp briefly before pressing into the pan.
6. How should I store leftover bars?
To keep them fresh, store the bars in an airtight container in the fridge for up to a week. For longer, freeze wrapped bars for up to a month.
7. What if the chocolate doesn’t melt properly?
If the chocolate isn’t melting smoothly, warm it gently in short bursts in the microwave or add a splash of warm cream to loosen it.
8. How do I get clean cuts?
When cutting, wipe the knife with warm water between slices for clean, neat edges and less sticking.
9. My mixture is too soft to handle, what now?
If the mixture is too hot or runny, let it cool slightly before pressing into the pan to prevent spreading or melting.
10. Can I add toppings or salt?
Adding a pinch of sea salt on top before chilling can enhance the chocolate flavor and add a nice contrast.
These no-bake chocolate honey bars are a reminder that sometimes the simplest ingredients create the most satisfying treats. They’re perfect for when I need a quick fix of rich, chewy comfort that’s not fussy or complicated.
Sharing them with friends or family feels special, but honestly, I often keep a batch in the fridge just for myself. They’re a little moment of indulgence that’s always there, ready whenever the craving strikes.

Hi, I’m Mia Bennett, the chef and storyteller behind Grounding in Tradition. I’m so glad you’re here. This blog is my way of preserving the flavors, techniques, and rituals that shaped me as both a cook and a professional chef. Grounding in Tradition is not about trends or shortcuts. It is about honoring where food comes from, understanding the hands that prepare it, and carrying forward recipes that deserve to be remembered.


Leave a Reply