
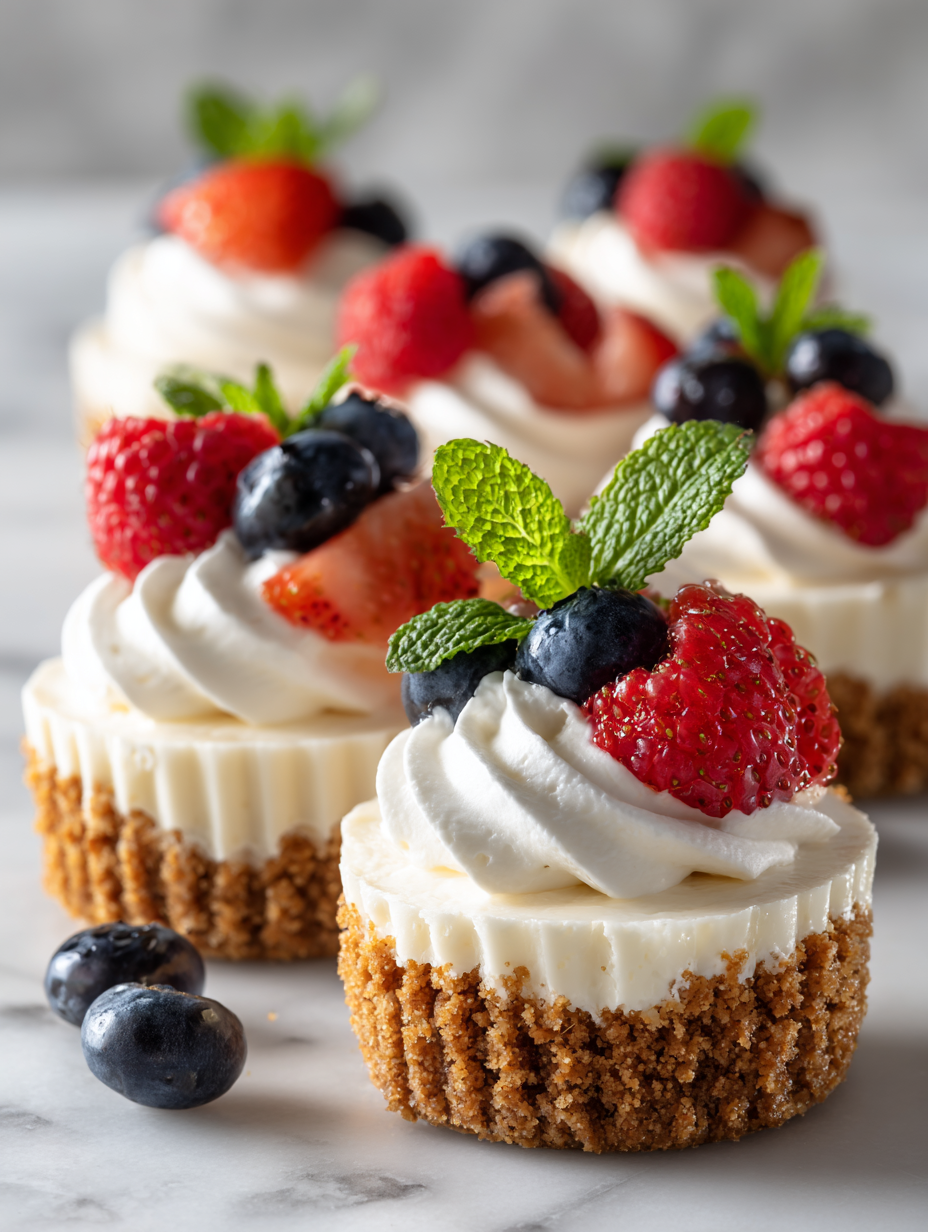
Sometimes, the best desserts are the simplest, and these no-bake mini cheesecakes prove that. They’re unexpectedly elegant, with a silky texture that makes you feel like you’ve ordered something fancy at a boutique cafe. The fact that they come together without turning on the oven means they’re perfect for chaotic days or when you just want something quick and impressive.
What I love most is how flexible they are — you can tweak the toppings, swap in different jams, or even use flavored creams. They feel indulgent without the fuss, and honestly, they’re my go-to when I need a last-minute dessert that looks like I planned it for ages. Plus, they’re small enough to serve at a crowd or keep for yourself without guilt.
Focusing on the surprising elegance of tiny, no-bake cheesecakes that can be whipped up in minutes, perfect for spontaneous gatherings or last-minute cravings. It’s about turning simple ingredients into a creamy, sophisticated treat without turning on the oven, making dessert feel approachable even on busy, chaotic days.
Small Treats, Big Impact
- I love how these tiny cheesecakes make me feel like a fancy baker, even on my busiest days.
- There’s a quiet joy in pulling these out of the fridge, knowing I whipped up something impressive without the oven.
- Honestly, they remind me of childhood parties—simple, sweet, and just a little bit indulgent.
- I get a thrill from customizing each mini cheesecake with different toppings—it’s like tiny dessert art.
- Sometimes, I make a batch just for myself, and they turn an ordinary afternoon into a special moment.
The story behind this recipe
This recipe was born out of a lazy weekend craving for something sweet but effortless. I was rummaging through my fridge, looking for a quick fix, when I realized I had all the ingredients to make mini cheesecakes that didn’t require baking. The moment I tasted the first bite, I knew I had stumbled on something special—dessert that feels fancy but is truly just assembled. Now, it’s become my favorite way to impress guests without the stress or the heat in the kitchen.
Trivia and Historical Tidbits
- These mini cheesecakes trace back to the 1950s, when gelatin-based, no-bake desserts gained popularity as quick, elegant treats.
- Their rise in popularity coincided with the post-war era’s desire for stylish yet simple party foods, especially in the US and Europe.
- The concept of individual, no-bake desserts was a clever way to serve a fancy-looking treat without the fuss of traditional baking, making them accessible for home cooks.
Key Ingredients and Tips
- Cream cheese: I love how the tangy richness pairs with the sweetness, and a softened block makes mixing a breeze. If yours is cold, warm it slightly or let it sit out first.
- Graham cracker crumbs: I get that nostalgic crunch from these, but you can swap in digestive biscuits for a slightly different spice note. Toast them lightly if you want extra flavor.
- Sugar: Just enough to balance the tang, but if you prefer it less sweet, cut back by a tablespoon. It keeps the creamy texture front and center.
- Lemon juice: Brightens everything with a zesty kick; I use fresh lemon for that juicy burst. Skip if you dislike citrus or want a subtler flavor.
- Heavy cream: Whipped to soft peaks, it adds airy lightness. If you’re dairy-free, coconut cream can work, but it’ll add a richer coconut note.
- Vanilla extract: A splash elevates the creaminess and depth. Pure vanilla is best, but a touch of vanilla bean paste adds specks and a richer aroma.
- Toppings (berries, jams, chocolate): I love the contrast of fresh berries’ tartness or a drizzle of dark chocolate for a richer finish. Feel free to mix and match!
Spotlight on Key Ingredients
Cream cheese:
- I love how the tangy richness pairs with the sweetness, and a softened block makes mixing a breeze. If yours is cold, warm it slightly or let it sit out first.
- Graham cracker crumbs: I get that nostalgic crunch from these, but you can swap in digestive biscuits for a slightly different spice note. Toast them lightly if you want extra flavor.
Heavy cream:
- Lemon juice: Brightens everything with a zesty kick; I use fresh lemon for that juicy burst. Skip if you dislike citrus or want a subtler flavor.
- Whipped to soft peaks, it adds airy lightness. If you’re dairy-free, coconut cream can work, but it’ll add a richer coconut note.
Notes for ingredient swaps
- Dairy-Free: Swap cream cheese for a plant-based cream cheese alternative. It may be a bit less tangy but still creamy.
- Sweetener: Use honey or maple syrup instead of sugar for a more natural sweetness, but reduce slightly for less runny filling.
- Crust Base: Replace graham cracker crumbs with digestive biscuits or vanilla cookies for a different spice or vanilla note.
- Heavy Cream: Coconut cream can stand in for dairy, adding a richer, coconut aroma; keep chilled for best whipping.
- Flavor Boost: Add a splash of lemon or orange zest instead of juice for a brighter, citrusy twist.
- Toppings: Use chopped nuts, toasted coconut, or dairy-free chocolate chips if you need allergy-friendly or vegan options.
- Sweet Crust: For a gluten-free version, try crushed gluten-free cookies or oats pressed into the crust.
Equipment & Tools
- muffin tin: Holds the mini cheesecakes and keeps their shape.
- paper liners: Prevents sticking and makes for easy removal.
- mixing bowls: Combine ingredients and fold whipped cream.
- spatula: Smooth the filling and press crust down.
- food processor or zip-top bag and rolling pin: Crush graham crackers quickly and evenly.
Step-by-step guide to no-bake cheesecakes
- Gather your equipment: a 12-count muffin tin, mini paper liners, mixing bowls, a spatula, and a small food processor or zip-top bag and rolling pin for the crust.
- Crush the graham crackers: place about 1 1/2 cups of crackers in your food processor or bag, crush until fine, then pour into a bowl. Mix in 3 tbsp sugar and 1/2 tsp cinnamon if you like extra spice.
- Melt 4 tbsp butter: in a small microwave-safe bowl, heat for about 30 seconds until just melted. Add to the graham cracker mixture and stir until evenly coated.
- Line the muffin tin: place paper liners in each cup. Divide the crust mixture evenly among the cups, pressing down firmly with the back of a spoon or your fingers to create a compact base. Chill for 10 minutes in the fridge.
- Make the filling: in a large bowl, beat 16 oz softened cream cheese with 1/2 cup sugar until smooth and creamy, about 2 minutes. Add 1 tsp vanilla extract and 2 tbsp lemon juice, mix well.
- In a separate bowl, whip 1 cup heavy cream to soft peaks, about 2-3 minutes. Gently fold the whipped cream into the cream cheese mixture until combined and fluffy.
- Spoon or pipe the filling over the chilled crusts, dividing evenly. Smooth the tops with a spatula. Cover with plastic wrap and refrigerate for at least 3 hours, ideally overnight, until set.
- Finish and serve: remove from fridge, add toppings like fresh berries, fruit preserves, or chocolate shavings. Serve chilled with a slight jiggle in the center.
Chill the assembled cheesecakes in the fridge for at least 3 hours or overnight. Before serving, add toppings of your choice, then serve directly from the muffin tin or transfer to a plate for a prettier presentation.
How to Know It’s Done
- Crust is firm and compact when pressed; no crumbs falling apart.
- Filling is smooth, no lumps, with a slight jiggle when set.
- Toppings sit evenly and add visual contrast, no sliding off.
No-Bake Mini Cheesecakes
Ingredients
Equipment
Method
- Place graham crackers in your food processor or a zip-top bag, then crush until fine or small crumbs form. Transfer to a bowl.
- Pour in melted butter and stir until the crumbs are evenly coated and resemble damp sand. This helps the crust hold together.
- Line a muffin tin with paper liners, then evenly divide the crumb mixture among the cups, pressing down firmly with a spoon or your fingers to create a compact crust. Chill for 10 minutes to set.
- In a large mixing bowl, beat softened cream cheese and sugar with a hand mixer or spatula until smooth and creamy, about 2 minutes. Add vanilla extract and lemon juice, then mix well until combined.
- In a separate bowl, whip the chilled heavy cream until soft peaks form, which makes a light, airy texture.
- Gently fold the whipped cream into the cream cheese mixture using a spatula, mixing just until combined and smooth—be careful not to deflate the cream.
- Spoon or pipe the creamy filling over each chilled crust, smoothing the tops with a spatula or the back of a spoon. Cover the tray and refrigerate for at least 3 hours, ideally overnight, until set and firm.
- Once set, remove the mini cheesecakes from the fridge, add your favorite toppings like fresh berries or chocolate shavings, and serve chilled for a silky, elegant treat.
Pro tips for perfect cheesecakes
- Bolded mini-head: Chill the crust mixture before pressing into cups to prevent it from crumbling during assembly.
- Bolded mini-head: When whipping cream, start on low speed and increase gradually for soft, stable peaks.
- Bolded mini-head: Use room temperature cream cheese; cold cheese resists smooth mixing and causes lumps.
- Bolded mini-head: Press the crust mixture firmly with the back of a spoon or small glass for an even base.
- Bolded mini-head: Gently fold whipped cream into the filling to keep it light and airy, avoid overmixing.
- Bolded mini-head: Chill assembled cheesecakes at least 3 hours, or ideally overnight, for best set and texture.
- Bolded mini-head: Add toppings just before serving to keep them fresh and visually appealing.
Common mistakes and how to fix them
- FORGOT to chill the crust? Refrigerate for at least 10 minutes to set firmly.
- DUMPED the whipped cream too quickly? Fold gently to keep it airy and light.
- OVER-TORCHED the crust? Cover with foil and lower oven temperature next time.
- MISSED stirring ingredients evenly? Mix thoroughly to avoid lumps and uneven flavor.
Quick Fixes and Pantry Swaps
- When mixture is too runny, add a bit more cream cheese and chill again.
- If crust is crumbly, press more firmly and chill longer before filling.
- Splash a little lemon juice if filling tastes flat or dull.
- Patch cracks in set cheesecakes with a dot of extra filling or fresh fruit.
- Shield delicate toppings with a light layer of whipped cream if they start to wilt.
Prep and storage tips
- Prepare the crust mixture and press into muffin cups up to 24 hours in advance; keep covered in the fridge for a firm set.
- Assemble and chill the cheesecakes at least 3 hours ahead, or overnight for best texture and flavor integration.
- Store finished cheesecakes covered in plastic wrap in the fridge for up to 3 days; the texture stays creamy and fresh.
- Reheat slightly if desired by letting sit at room temperature for 10 minutes; the filling softens and becomes even silkier.
- Adding toppings just before serving preserves their freshness and visual appeal, maintaining a crisp, vibrant contrast.
Top questions about mini cheesecakes
1. How do I prevent lumps in the filling?
Use softened cream cheese and beat it well to avoid lumps and get a silky texture.
2. How long should I chill them for best results?
Chill the cheesecakes for at least 3 hours, or overnight, to ensure they set properly and hold their shape.
3. Can I make these dairy-free or use substitutes?
Yes, you can substitute Greek yogurt or coconut cream, but it will alter the flavor and texture slightly.
4. How do I make sure the crust doesn’t fall apart?
Use a well-pressed crust with no crumbs loose; pressing firmly helps prevent crumbling when serving.
5. When should I add toppings for the best look and flavor?
Add toppings just before serving to keep them fresh and vibrant—berries, chocolate, or fruit jams work great.
6. What if my filling is too soft or runny?
If the filling is too runny, add a little more cream cheese or chill the mixture longer before filling the cups.
7. How do I get a smooth, even top on each cheesecake?
Use a piping bag or a small spoon for neat, even filling, and smooth the tops with a spatula.
8. How long can I keep these in the fridge?
Store leftovers in an airtight container in the fridge for up to 3 days; the texture stays creamy and fresh.
9. Can I freeze these mini cheesecakes?
Yes, you can freeze them for up to a month, but add toppings after thawing for best presentation.
10. My crust is crumbly—what should I do?
If the crust is too crumbly, press it down more firmly and chill it before adding the filling.
These no-bake mini cheesecakes are a tiny victory in my kitchen—simple, quick, and surprisingly elegant. They remind me that sometimes, the best desserts come from just a few honest ingredients, assembled with a little care and patience.
In times when I want a sweet treat without the fuss, they’re my go-to. Whether for a spontaneous gathering or an unexpected craving, they offer a little moment of satisfaction that’s both familiar and special.