
This no bake chocolate cheesecake became my go-to when the oven was broken or I just needed something quick and satisfying. It’s one of those recipes that feels like a little secret—rich, smooth, and ridiculously easy to throw together without turning on the stove. Honestly, it’s a relief to have a dessert that’s both impressive and stress-free, especially on hot days or busy nights.
What I love most is that it’s a reminder sometimes the simplest ingredients—good chocolate, cream cheese, a crumbly base—can come together into something so indulgent. No baking means fewer worries about overcooking or cracking, and the fridge does all the work. It’s my fallback dessert for last-minute dinners or when I want to treat myself without the fuss.
This recipe is a secret weapon for those days when the oven is out of commission or just too warm outside. It’s a no-fuss way to impress without heating up the kitchen, perfect for hot summer nights or quick dessert emergencies. Plus, it’s a reminder that sometimes, simplicity and a good fridge can deliver the richest, most satisfying treats.
A Secret Summer Dessert
- This dessert feels like a quiet victory after a chaotic day, the smooth richness grounding me when everything else feels hectic.
- I love how it brings back summer memories, the smell of melting chocolate mingling with warm evenings and lazy weekends.
- There’s a rare satisfaction in knowing I can whip this up in 20 minutes, no oven, no fuss, just pure indulgence.
- It’s the kind of treat that makes me feel like I’ve cracked a secret—rich, velvety, and surprisingly simple to make.
- Sometimes I make this for myself just to remember that good things don’t need to be complicated or fancy.
A Secret Summer Dessert
This recipe actually came from a lazy weekend when I had friends unexpectedly dropping by. I didn’t want to turn on the oven, but I still craved something rich and chocolatey. I started experimenting with no-bake cheesecakes, and this one just clicked—smooth, decadent, and surprisingly forgiving. It’s become my go-to for those moments when I want a quick fix that feels special without the fuss.
Historical Tidbits and Surprising Origins
- This no bake chocolate cheesecake has roots in post-war Europe, where ingredients like cream cheese and chocolate became symbols of celebration and clever resourcefulness.
- During the 1970s, quick desserts like this gained popularity in the US as busy households searched for simple, satisfying treats without oven time.
- The idea of combining creamy cheese with rich chocolate dates back to classic French pastry techniques, but turning it into a no-bake was a modern twist born out of necessity and convenience.
Ingredient breakdown: key components
- Cream cheese: I prefer full-fat for that rich, velvety texture that melts in your mouth. If you want lighter, ricotta can work, but it won’t be as luscious.
- Dark chocolate: I love using 70% cacao for a deep, bittersweet punch. Swap with semi-sweet if you want it milder, but avoid milk chocolate—it’s too sweet and dulls the richness.
- Heavy cream: Whips up into a smooth, airy topping that balances the dense base. Coconut cream makes a good dairy-free alternative, though it adds a subtle coconut flavor.
- Graham cracker crumbs: I toast them lightly before mixing for a nutty aroma. For a gluten-free version, almond flour or crushed digestive biscuits do the trick, but keep an eye on the texture.
- Sugar: I use a bit more if the chocolate is on the bitter side, but honestly, the sweetness depends on your chocolate choice. Adjust to taste and keep it balanced.
- Butter: Melts into the crumbs for cohesion and flavor. For a vegan crumb crust, coconut oil works well, adding a faint coconut scent that’s surprisingly good.
- Vanilla extract: Brightens everything up with a whisper of aroma. If you’re out, a splash of bourbon or coffee can add complexity—just a tiny splash.
Spotlight on key ingredients
Cream cheese:
- I love how it’s silky and tangy, almost like a blank canvas for chocolate. If you prefer a milder flavor, ricotta can soften the sharpness, but it won’t be as creamy.
- Dark chocolate: I choose 70% for that deep, slightly smoky bitterness that plays beautifully with the sweet cream. You can go milder with semi-sweet, but avoid milk chocolate—it dulls the richness and dulls the bite.
Dark chocolate:
- Heavy cream: Whips up into a cloud of softness that balances the dense base. Coconut cream adds a tropical note and works well if you’re dairy-free, but expect a faint coconut scent that lingers.
- Chocolate: Melts smooth and glossy over gentle heat, releasing a rich, oozing aroma. It’s the backbone of that velvety texture you want in every bite, so quality really counts here.
Notes for ingredient swaps
- Dairy-Free: Swap cream cheese for a cashew or coconut-based soft cheese. It’ll be slightly sweeter and less tangy, but still creamy.
- Vegan Chocolate: Use dairy-free dark chocolate and coconut cream instead of heavy cream. Expect a richer, coconut-forward flavor.
- Sugar Alternatives: Replace regular sugar with maple syrup or agave nectar. Keep in mind, these will add a subtle flavor and alter sweetness slightly.
- Crust Base: Substitute graham crackers with crushed digestive biscuits or almond flour for a nutty twist. Toast lightly for extra aroma.
- Butter: Swap for coconut oil or vegan butter. The crust will still hold together but may have a faint coconut scent or different texture.
- Chocolate: Use milk or white chocolate if you prefer a sweeter, less bitter flavor. Adjust sugar accordingly to balance the sweetness.
- Whipped Topping: Replace heavy cream with coconut whipped cream or aquafaba for a vegan finish. The texture will be lighter and slightly different.
Equipment & Tools
- Springform pan: To shape and set the cheesecake.
- Mixing bowls: For mixing crust and filling ingredients.
- Spatula: To fold ingredients gently and smooth the top.
- Saucepan: To melt the chocolate gently.
- Whisk or hand mixer: To whip the cream and beat the cheese mixture.
Step-by-step guide to no bake cheesecake
- Gather your equipment: a 20cm (8-inch) springform pan, mixing bowls, spatula, and a small saucepan. The pan is for shaping the crust and setting the cheesecake.
- Make the crust: crush 200g (7 oz) graham crackers or digestives until fine. Toast in a dry pan over medium heat for 2 minutes, until fragrant. Mix with 100g (7 tbsp) melted butter and a pinch of salt. Press evenly into the bottom of your prepared pan. Chill for 15 minutes to firm up.
- Melt the chocolate: chop 200g (7 oz) dark chocolate, place in a heatproof bowl over simmering water (about 80°C/176°F). Stir until smooth and glossy, then remove from heat. Let cool slightly, about 5 minutes, until it’s warm but not hot.
- Cream the cheese: in a large bowl, beat 300g (10.5 oz) cream cheese with 50g (¼ cup) sugar until smooth and creamy, about 2 minutes. Scrape down the sides regularly.
- Incorporate the chocolate: gently fold the melted chocolate into the cream cheese mixture, ensuring even distribution. Add 1 teaspoon vanilla extract for brightness.
- Whip the cream: in a chilled bowl, whip 200ml (¾ cup) heavy cream until soft peaks form, about 3 minutes. Be careful not to overwhip or it’ll turn buttery.
- Combine the mixtures: fold the whipped cream into the chocolate-cheese mixture in three additions. Use a spatula, gently folding to keep it light and airy.
- Pour into the crust: transfer the filling into the chilled crust, smoothing the top with a spatula. Tap the pan gently on the counter to release air bubbles.
- Chill to set: cover loosely with plastic wrap and refrigerate for at least 4 hours, preferably overnight. The filling should be firm and slightly jiggly in the center when ready.
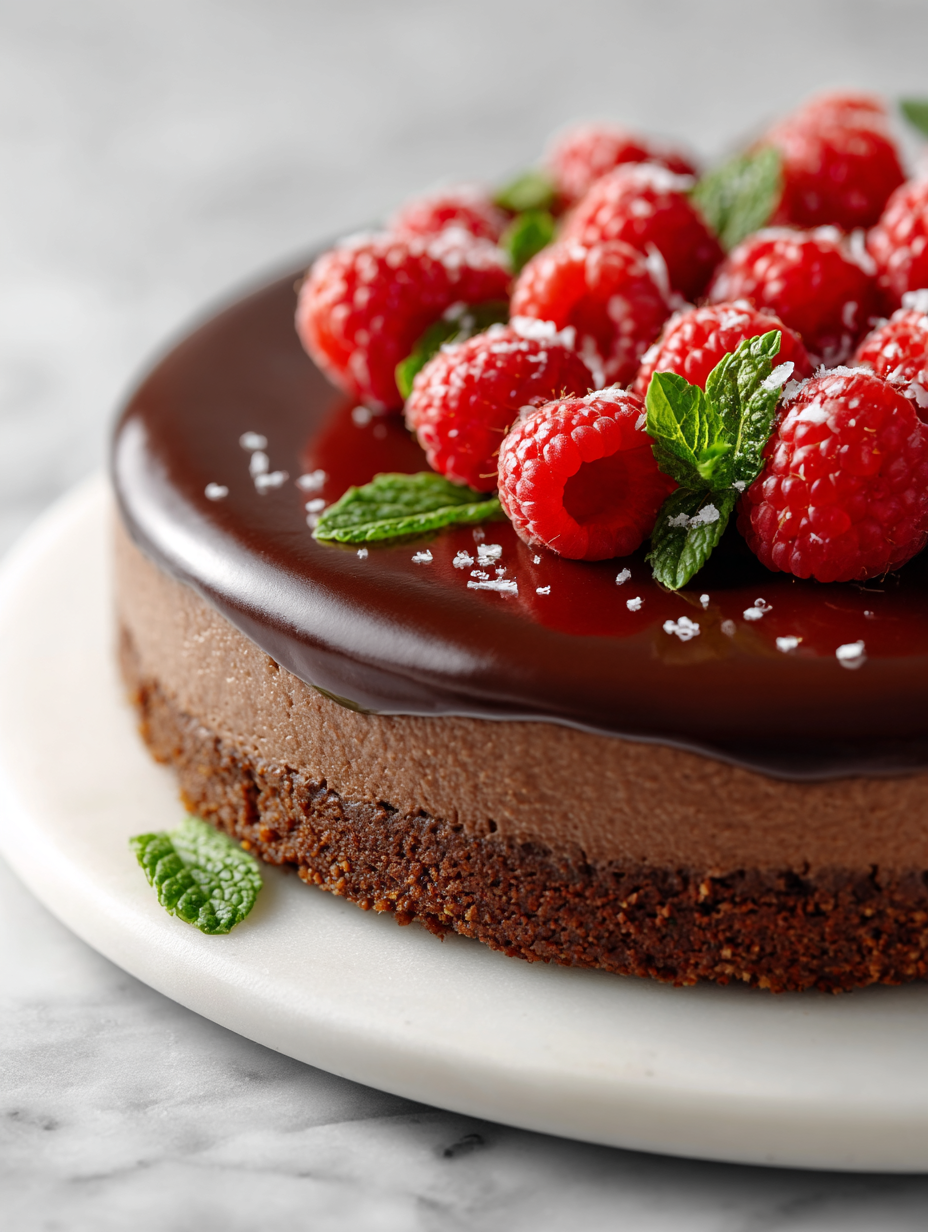
After chilling, gently remove the sides of the springform pan. Slice with a warm knife for clean cuts. Serve plain or with a dusting of cocoa powder, whipped cream, or fresh berries for extra flair.
How to Know It’s Done
- The crust is golden and firm when pressed; it holds together without crumbling.
- The filling is smooth, shiny, and slightly jiggly in the center, indicating it’s set.
- The edges are slightly pulling away from the pan when fully chilled and firm.
No-Bake Chocolate Cheesecake
Ingredients
Equipment
Method
- Combine the graham cracker crumbs with the melted butter in a bowl, mixing until the crumbs are evenly coated and resemble wet sand.
- Press this mixture firmly into the bottom of a springform pan, spreading evenly to form a solid crust. Chill in the fridge for 15 minutes to set.
- Chop the dark chocolate into small pieces, then melt it gently in a heatproof bowl over simmering water, stirring until smooth and glossy. Set aside to cool slightly.
- In a large bowl, beat the cream cheese and sugar together until smooth and creamy, about 2 minutes. Scrape down the sides as needed.
- Gently fold the melted chocolate into the cream cheese mixture, ensuring an even, silky consistency. Add vanilla extract and mix gently.
- Whip the heavy cream in a chilled bowl until soft peaks form, about 3 minutes. Be careful not to overwhip.
- Carefully fold the whipped cream into the chocolate-cheese mixture in three parts, using a spatula to keep it light and airy.
- Pour the filling over the chilled crust, smoothing the top with a spatula. Tap the pan gently on the counter to release any trapped air bubbles.
- Cover the pan loosely with plastic wrap and refrigerate for at least 4 hours or overnight until the filling is firm and glossy.
- Once set, carefully remove the sides of the springform pan. Slice with a warm, damp knife for clean cuts. Serve plain or with toppings of your choice.
Tips & Tricks for Perfect Cheesecake
- Use high-quality chocolate for a richer, more intense flavor that melts smoothly.
- Chill your mixing bowls beforehand; they help keep the whipped cream airy and stable.
- Gently fold whipped cream into the chocolate mixture—avoid stirring to maintain fluffiness.
- Slightly warm the edges of your melted chocolate to prevent it from seizing or becoming grainy.
- Tap the filled pan on the counter to release trapped air bubbles and ensure a smooth top.
- Use a warm knife when slicing to get clean, neat pieces without cracks or crumbles.
- Let the cheesecake sit at room temperature for 10 minutes before serving to soften the chill and enhance flavor.
Common mistakes and how to fix them
- FORGOT to chill crust; fix by refrigerating for 15 more minutes before filling.
- DUMPED melted chocolate into cheese; fold gently to prevent cracking or curdling.
- OVER-TORCHED chocolate; use a double boiler over low heat to avoid bitterness.
- MISSED the firmness test; refrigerate longer if filling remains too jiggle-prone.
Quick Fixes and Pantry Swaps
- When the filling cracks, splash a little hot water on the surface to smooth it out.
- If the crust is too soft, patch with a thin layer of melted chocolate to reinforce it.
- Dumped the melted chocolate too hot? Chill the mixture for 10 minutes before folding in cream.
- Over-whipped the cream? Fold in a spoonful of unwhipped cream to loosen it up.
- Shield the edges if they brown too quickly during setting with foil or a silicone shield.
Prep, store, and reheat tips
- Prepare the crust and press into the pan up to 24 hours ahead. Keep refrigerated to maintain crispness.
- Assemble the filling and melt the chocolate at least 2 hours before serving to allow flavors to meld and chill thoroughly.
- The cheesecake can be stored covered in the fridge for up to 3 days. The longer it sits, the more the flavors deepen and intensify.
- Refrigerate the cheesecake until just ready to serve. If it feels too firm, let it sit at room temperature for 10 minutes to soften slightly and enhance creaminess.
Frequently Asked Questions
1. Can I use cold cream cheese?
Use room temperature cream cheese for easier mixing and a smoother texture. Cold cheese can be stubborn and may result in lumps.
2. Can I use different types of chocolate?
Yes, you can substitute dark chocolate with semi-sweet or milk chocolate if you prefer a sweeter, milder flavor. Just keep an eye on the sweetness balance.
3. My cheesecake is too soft, what do I do?
If the cheesecake is too soft or jiggly, it needs more chilling time—at least 4 hours, ideally overnight. Don’t rush the firmness.
4. Why does my cheesecake crack?
To avoid cracks on the surface, make sure to gently tap out air bubbles before chilling and don’t over-whip the cream.
5. Can I change the crust ingredients?
You can swap graham cracker crumbs with digestive biscuits or almond flour for different flavors. Toast them lightly for extra aroma.
6. Is there a dairy-free option?
Yes, you can use coconut cream or cashew-based cheese for a dairy-free version. Expect a slightly different, but still rich, flavor.
7. How do I get clean slices?
Use a warm, damp cloth to gently wipe the knife between slices for clean, neat cuts. It prevents sticking and tearing.
8. How should I store leftovers?
Store leftovers covered in the fridge for up to 3 days. For best flavor, bring to room temperature for 10 minutes before serving.
9. How do I melt chocolate properly?
When melting chocolate, do so over low heat or a double boiler to prevent scorching and bitterness.
10. The filling is too thick, what now?
If the filling is too thick when mixing, fold in a little extra whipped cream or a splash of milk to loosen it up.
This cheesecake is a reminder that sometimes, the best desserts are the simplest. No oven, no fuss, just rich chocolate and creamy cheese chilling to perfection.
It’s a cool, satisfying end to any meal, especially when the weather encourages lighter, no-bake treats. Plus, knowing it comes together quickly makes it all the more tempting to whip up on a whim. Nothing fancy, just good, honest comfort in every slice.

Hi, I’m Mia Bennett, the chef and storyteller behind Grounding in Tradition. I’m so glad you’re here. This blog is my way of preserving the flavors, techniques, and rituals that shaped me as both a cook and a professional chef. Grounding in Tradition is not about trends or shortcuts. It is about honoring where food comes from, understanding the hands that prepare it, and carrying forward recipes that deserve to be remembered.


Leave a Reply