Combine the graham cracker crumbs with the melted butter in a bowl, mixing until the crumbs are evenly coated and resemble wet sand.
Press this mixture firmly into the bottom of a springform pan, spreading evenly to form a solid crust. Chill in the fridge for 15 minutes to set.
Chop the dark chocolate into small pieces, then melt it gently in a heatproof bowl over simmering water, stirring until smooth and glossy. Set aside to cool slightly.
In a large bowl, beat the cream cheese and sugar together until smooth and creamy, about 2 minutes. Scrape down the sides as needed.
Gently fold the melted chocolate into the cream cheese mixture, ensuring an even, silky consistency. Add vanilla extract and mix gently.
Whip the heavy cream in a chilled bowl until soft peaks form, about 3 minutes. Be careful not to overwhip.
Carefully fold the whipped cream into the chocolate-cheese mixture in three parts, using a spatula to keep it light and airy.
Pour the filling over the chilled crust, smoothing the top with a spatula. Tap the pan gently on the counter to release any trapped air bubbles.
Cover the pan loosely with plastic wrap and refrigerate for at least 4 hours or overnight until the filling is firm and glossy.
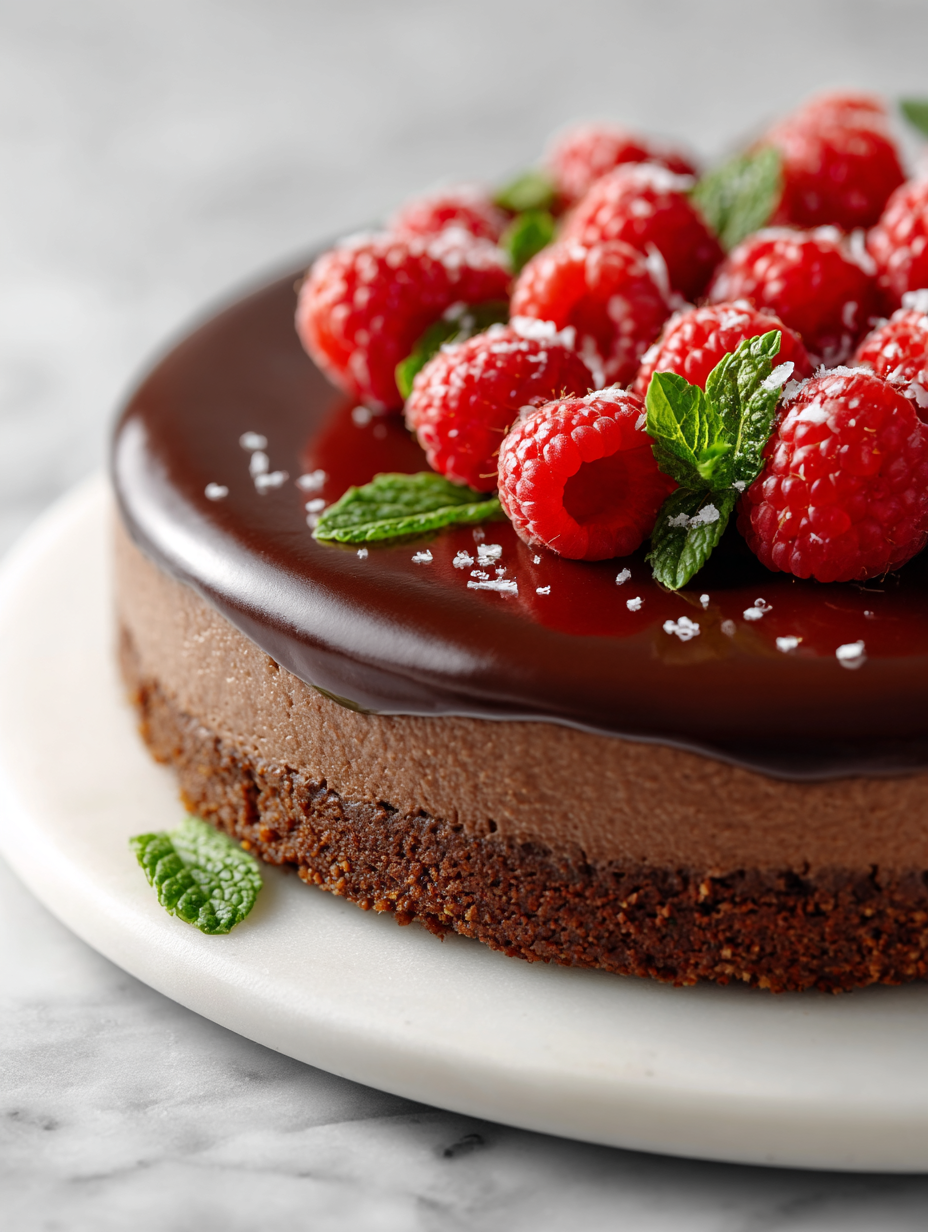
Once set, carefully remove the sides of the springform pan. Slice with a warm, damp knife for clean cuts. Serve plain or with toppings of your choice.