
I always keep a stash of leftover holiday chocolates, just waiting for a moment to turn them into something special. These no-bake chocolate truffles are my go-to for transforming clutter into a cozy, indulgent treat without breaking a sweat. It’s a little ritual that feels like a warm hug after busy seasons.
There’s something satisfying about mixing up these simple ingredients and shaping them into little bites of rich chocolate goodness. No oven, no fuss—just a handful of pantry staples and a bit of patience. It’s my lazy-day method to make the most of what’s already in the house, especially when I want a quick fix of sweetness that feels fancy enough for guests or a quiet night in.
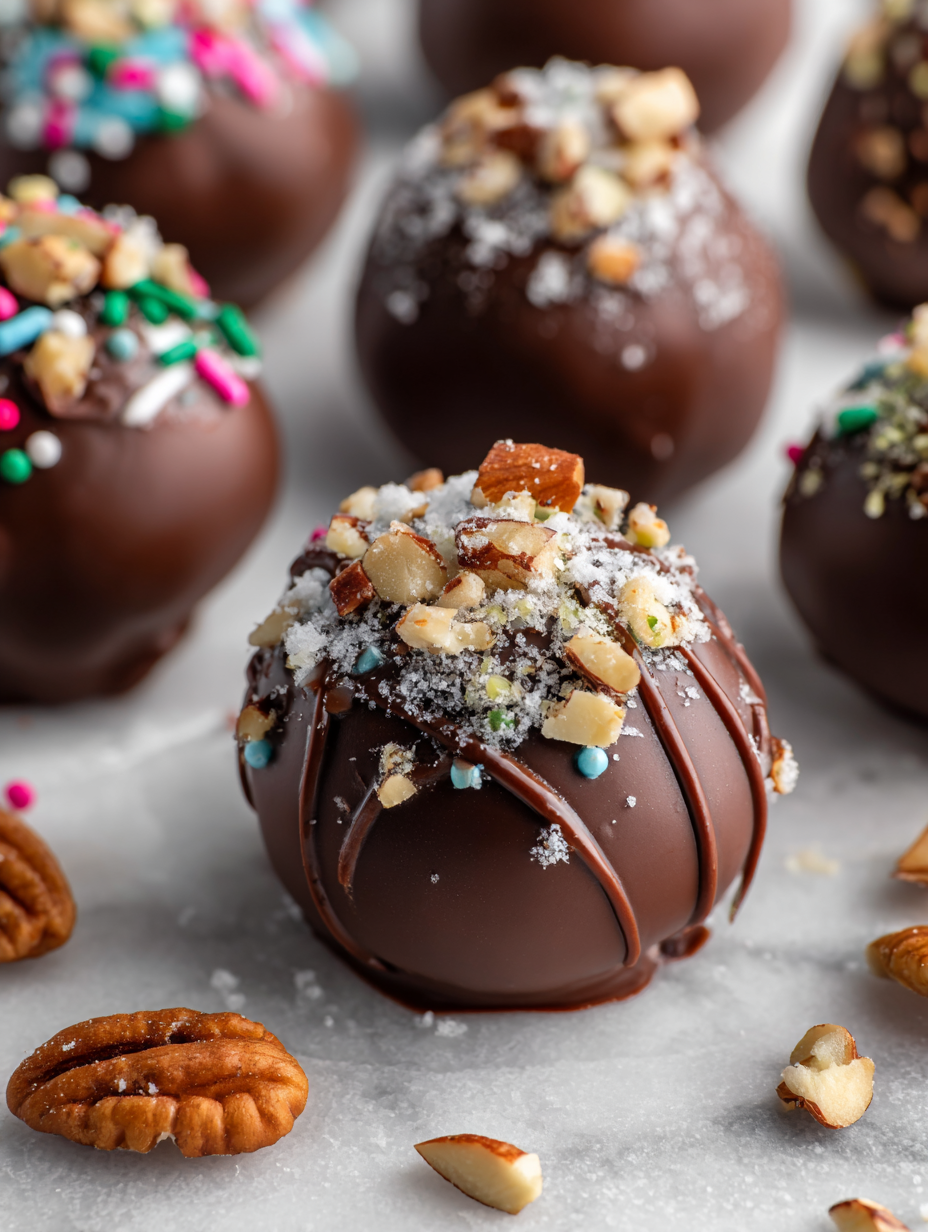
Using these no-bake chocolate truffles as a way to repurpose leftover holiday chocolates, turning clutter into a sweet, comforting treat.
Turning clutter into comfort
- Finding these truffles always takes me back to childhood Christmases, where simple sweets felt like treasures.
- I love how quickly these come together—perfect for those last-minute sweet cravings when patience runs thin.
- There’s a quiet pride in turning humble leftovers into something so decadent and satisfying.
- Whenever I share these, there’s a moment of surprise—people never expect how easy and rich they are.
- Making these always feels like a small, intentional act of kindness to myself after a hectic day.
The story behind this recipe
This recipe came from a lazy afternoon experiment after rummaging through my pantry. I had a bunch of leftover chocolates from a recent holiday, and instead of letting them sit idle, I melted them down with a splash of cream and rolled them in cocoa. The moment I tasted that first bite, it reminded me how simple ingredients can turn into something unexpectedly luxurious, even on a rushed day. It’s become a little secret of mine, a quick rescue for those times when I crave something sweet but don’t want to fuss in the kitchen.
Historical & Cultural Roots
- These truffles trace back to European aristocrats who turned leftover bits of fine chocolate into luxurious confections during the 1800s.
- The no-bake method gained popularity during wartime shortages, emphasizing simplicity without sacrificing indulgence.
- Cocoa powder was once a rare commodity, making these treats a clever way to stretch precious ingredients into rich bites.
- Modern versions often adapt from traditional French or Italian recipes, simplified for home cooks craving quick elegance.
Key ingredients and tips
- Good quality cocoa powder: I prefer a deep, slightly bitter cocoa for that rich, velvety flavor. If you want a milder taste, go for a milder cocoa or Dutch-processed. The smell of fresh cocoa should be bright and chocolatey.
- Heavy cream: I always use heavy cream for that silky texture. Substitute with coconut cream for a dairy-free version, but note it will add a coconut aroma and flavor.
- Dark chocolate: I opt for at least 70% cocoa for intense richness. If you like it sweeter, toss in some milk chocolate bits. Watch it melt into a glossy, smooth paste.
- Butter: I add a little unsalted butter to give the truffles a subtle richness. Skip it if you want a lighter bite, but the texture might be less creamy and more crumbly.
- Cocoa powder for coating: I like a fine dusting of cocoa on the outside. You can swap with finely chopped nuts or shredded coconut for different textures and flavors.
- Optional flavorings (vanilla, liqueur): A splash of vanilla or a hint of liqueur can elevate the flavor. If you prefer a more straightforward chocolate hit, skip or keep it simple.
- Salt: Just a pinch brings out the chocolate’s depth. If you’re sensitive to salt, reduce a bit—your taste buds will thank you.
Spotlight on key ingredients
Cocoa Powder:
- Good quality cocoa powder: I prefer a deep, slightly bitter cocoa for that rich, velvety flavor. If you want a milder taste, go for a milder cocoa or Dutch-processed. The smell of fresh cocoa should be bright and chocolatey.
- Heavy cream: I always use heavy cream for that silky texture. Substitute with coconut cream for a dairy-free version, but note it will add a coconut aroma and flavor.
Dark Chocolate:
- I opt for at least 70% cocoa for intense richness. If you like it sweeter, toss in some milk chocolate bits. Watch it melt into a glossy, smooth paste.
- Butter: I add a little unsalted butter to give the truffles a subtle richness. Skip it if you want a lighter bite, but the texture might be less creamy and more crumbly.
Notes for ingredient swaps
- Dairy-Free: Swap heavy cream for coconut cream. It’s richer and adds a coconut aroma, but keeps the silky texture.
- Vegan Chocolate: Use dairy-free dark chocolate and plant-based butter. Expect a slightly different melt and flavor profile.
- Sweetener Variations: Add a touch of maple syrup or agave instead of sugar if you want a hint of caramel or floral notes.
- Flavor Boosts: Mix in a pinch of sea salt or a splash of liqueur like Grand Marnier for depth and complexity.
- Cocoa Coating: Roll the finished truffles in chopped nuts, shredded coconut, or powdered sugar for varied textures and flavors.
- Sugar-Free: Use unsweetened cacao powder and sugar substitutes like erythritol for a lower-sugar treat, but watch texture.
- Extra Texture: Toss rolled truffles in crushed cookies or crispy rice for a crunch contrast.
Equipment & Tools
- Mixing bowl: Hold and mix the melted chocolate and cream
- Spatula: Combine ingredients smoothly
- Small cookie scoop: Portion uniformly sized truffles
- Parchment-lined tray: Hold shaped truffles as they set
- Microwave-safe bowl: Melt chocolate evenly
Step-by-step guide to no-bake truffles
- Gather your equipment: a mixing bowl, a spatula, a small cookie scoop, a parchment-lined tray, and a microwave-safe bowl for melting. These tools will make shaping and setting easier.
- Chop the dark chocolate into small, even pieces. Place in a microwave-safe bowl. Microwave in 20-second bursts, stirring each time, until smooth and glossy, about 1 minute total.
- In a separate small bowl, warm the heavy cream until just simmering, about 30 seconds in the microwave. Pour over the melted chocolate. Let sit for 1 minute.
- Stir the cream and chocolate together until fully combined and shiny. Add a teaspoon of vanilla or liqueur if desired. Mix well.
- Scoop out about 1 teaspoon of the chocolate mixture with your cookie scoop. Roll quickly between your palms into a small ball. Place on the prepared tray.
- Repeat with remaining mixture, working quickly to prevent melting. Once all are shaped, chill in the fridge for at least 2 hours, or until firm.
- Once set, use a fine sieve to dust the truffles with cocoa powder, or roll in chopped nuts or shredded coconut if preferred.
- Serve directly from the fridge. For best texture, let sit at room temperature for 10 minutes before eating.
Chill the shaped truffles in the fridge for at least 2 hours until firm. Dust with cocoa powder or roll in toppings. Serve directly from fridge, letting sit at room temperature for 10 minutes to enhance flavor and texture.
How to Know It’s Done
- Truffles are firm and hold shape when gently pressed.
- Surface has a matte cocoa powder coating, not sticky or shiny.
- Chocolate inside is smooth and melts easily when bitten.
No-Bake Holiday Chocolate Truffles
Ingredients
Equipment
Method
- Chop the dark chocolate into small, even pieces and place in a microwave-safe bowl.
- Microwave the chocolate in 20-second bursts, stirring well after each, until completely melted and glossy—about 1 minute total. The chocolate should be smooth and fragrant.
- In a separate small bowl, warm the heavy cream until just simmering, about 30 seconds in the microwave.
- Pour the warm cream over the melted chocolate, then let sit for 1 minute to soften the chocolate.
- Stir gently with a spatula until the mixture is smooth, shiny, and well combined. Add vanilla extract if using, and mix again.
- Allow the ganache to cool slightly, then scoop about 1 teaspoon of the mixture using a small cookie scoop, and quickly roll between your palms into a small ball. Place on the parchment-lined tray.
- Repeat with remaining mixture, working quickly to keep the ganache from becoming too soft.
- Once all the truffles are shaped, dust them generously with sifted cocoa powder using a fine sieve. Alternatively, roll them in chopped nuts or shredded coconut for different textures.
- Place the coated truffles back in the fridge for at least 2 hours to firm up. They should feel firm and slightly shy when gently pressed.
- Remove from the fridge, let sit at room temperature for 10 minutes, then serve. Enjoy the rich, melt-in-your-mouth texture of these decadent bites.
Notes
Pro tips for perfect truffles
- Bolded mini-head: Use room temperature ingredients to ensure smooth, even melting and mixing.
- Bolded mini-head: Chill the mixture briefly before shaping to prevent sticking and improve handling.
- Bolded mini-head: Work quickly when shaping to avoid melting the chocolate in your hands.
- Bolded mini-head: Dust your hands with cocoa powder to prevent sticking while rolling truffles.
- Bolded mini-head: For a glossy finish, gently roll the truffles in cocoa powder just before serving.
- Bolded mini-head: Use a toothpick or skewer for dipping for a smoother, more even coating.
- Bolded mini-head: Store in an airtight container in the fridge to keep them firm and fresh.
Common mistakes and how to fix them
- FORGOT to chill: Truffles may be too soft; chill longer or add more melted chocolate to firm up.
- DUMPED in too much cocoa: Dust lightly, or truffles will be overly dry and powdery.
- OVER-TORCHED chocolate: Use low power in microwave; burnt chocolate ruins texture and flavor.
- MISSED the sensory check: Ensure truffles are firm, not sticky, and coating is matte and even.
Quick fixes and pantry swaps
- When mixture is too soft, chill for 15 minutes before shaping.
- Splash a bit of warm milk if chocolate seizes during melting.
- Patch cracks by re-melting with a teaspoon of cream and stirring until smooth.
- Shield delicate truffles with a light dusting of cocoa to hide imperfections.
- If coating clumps, sift cocoa powder again to ensure a fine, even layer.
Prep, store, and reheat tips
- Chill the shaped truffles in the fridge for at least 2 hours before coating; this helps them set and firm up, making handling easier.
- Wrap individual truffles in parchment or store in an airtight container; they stay good for up to 1 week in the fridge and develop a richer chocolate flavor over time.
- Freeze for longer storage: up to 3 months. Wrap tightly in plastic wrap and then in foil to prevent freezer burn.
- Refrigerated truffles can be reheated slightly at room temperature for 10 minutes to enhance softness and aroma before serving, with a noticeable shine and melt-in-mouth feel.
Top questions about no bake truffles
1. Can I make these vegan or dairy-free?
Yes, you can use coconut oil instead of butter, which will make the truffles slightly softer and add a subtle coconut aroma.
2. What if the chocolate mixture is too soft or sticky?
Chill the mixture for at least 30 minutes if it’s too soft to handle. If the mixture is too stiff, let it sit at room temperature for a few minutes.
3. Can I use milk chocolate instead of dark?
Yes, you can substitute dark chocolate with milk chocolate for a sweeter, creamier flavor, but the texture may be slightly softer.
4. How long do these truffles keep?
Store the truffles in an airtight container in the fridge for up to a week, or freeze for up to 3 months.
5. Can I add alcohol to these truffles?
Yes, adding a splash of liqueur like Grand Marnier or Kahlua can give a delightful boozy kick. Just add it to the melted chocolate mixture.
6. My chocolate mixture has seized, what do I do?
If the mixture seizes or becomes grainy, gently reheat with a teaspoon of cream and stir until smooth.
7. How should I coat the truffles?
Dust the truffles with cocoa powder, chopped nuts, or shredded coconut right after shaping for a beautiful finish.
8. How do I melt chocolate without burning it?
When melting chocolate, do so in short bursts at low heat or in a double boiler to prevent burning.
9. How long should I chill the truffles?
Chill the shaped truffles in the fridge for at least 2 hours to ensure they are firm and hold their shape.
10. What kind of cocoa powder should I use?
Use high-quality cocoa powder for a richer flavor and a more velvety coating that balances bitterness with sweetness.
These no-bake chocolate truffles feel like a quiet victory, especially when you’re short on time but craving something rich. They remind me that sometimes, simplicity in the kitchen can deliver the deepest comfort. Plus, they’re a sneaky way to use up odds and ends of holiday chocolates without fuss.
Sharing these truffles often sparks a little surprise—people don’t expect how effortless and indulgent they are. They’re perfect for spontaneous gatherings or just a quiet moment to yourself with something sweet. No matter the reason, they’re a small, honest pleasure worth keeping around.